Friday, August 19, 2011

Homemade Oreos

Homemade Oreos

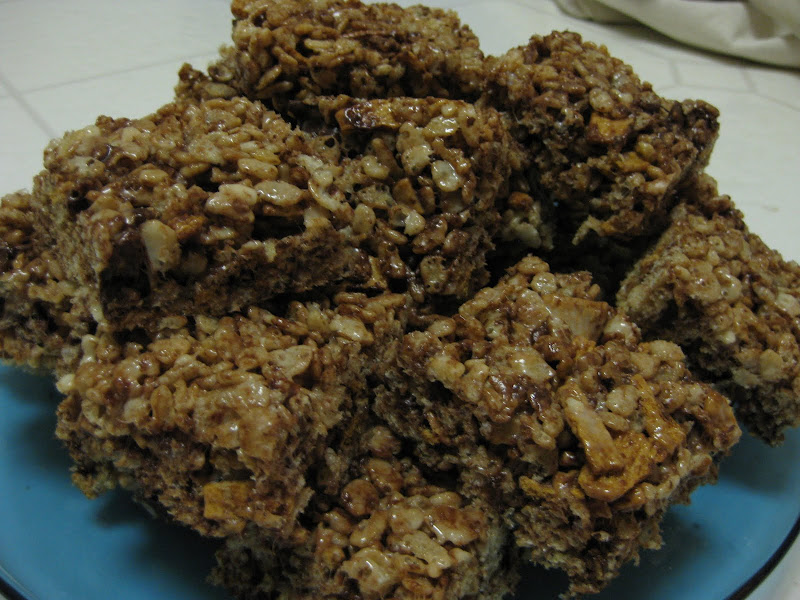
One day, I brought something a bit frou-frou in to share with my coworkers — macarons, I think it was. People ate them, but they weren't enthusiastic, and one coworker remarked, "see, the problem is, these are too fancy for us. Just bring in a bag of Oreos or something, we'll be happy."

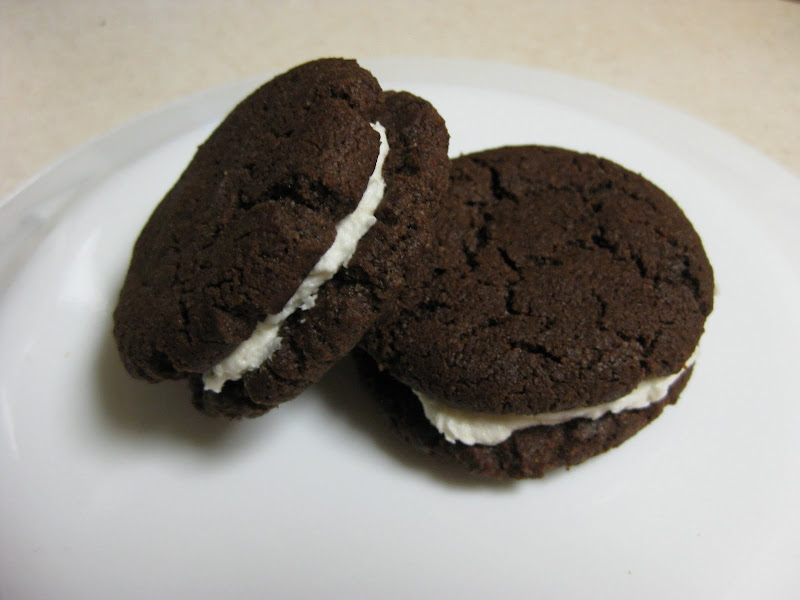
You know you've got the baking bug when someone says something like that and your reaction is "hey, I wonder if I could make Oreos!"

Many months later, after this idea got shoved to the bottom of the to-bake pile, there was another work night and another coworker who got me talking about Oreos. And I was reminded that I never did try that recipe, never did answer that question.

Well, here's the answer: Yes. Yes, I can make Oreos, and so can you. And these are actually better than Oreos, in a few ways. First, they're thicker and a trifle softer, and on top of that, the recipe makes a lot of filling, so you can double-stuff, even triple-stuff these, if you want. And second, have you seen the ingredients list for those ones Nabisco's selling us? High-fructose corn syrup. And what's "soy lecithin," anyway? I can pronounce everything in the ones I made. And they tasted just as good.

Portioning out the dough Baked cookies

Homemade Oreos
From Smitten Kitchen

1 1/4 c flour
1/2 c cocoa powder
1 tsp baking soda
1/4 tsp baking powder
1/4 tsp salt
1 c sugar
1/2 c plus 2 tbsp butter, softened
1 egg
1/2 c butter, softened
2 c confectioners' sugar
2 tsp vanilla

1. Whisk together the flour, cocoa, baking soda, baking powder, salt and sugar.
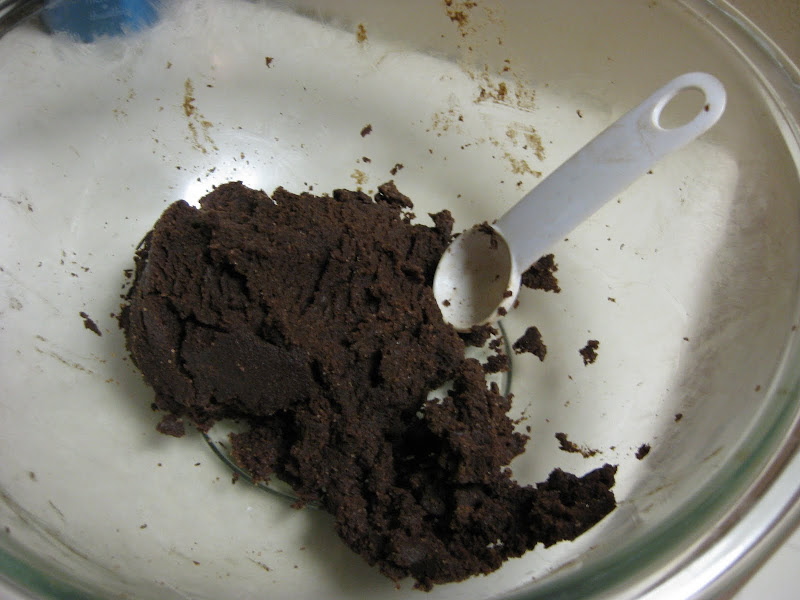
2. If you have a food processor, mix on low speed with the butter and the egg. If you don't, like me, you can just mush it all together in a big bowl with your hands. The object is to combine everything until it's a dough, either way.
3. Roll a rounded teaspoon of dough into a ball. Place it on a parchment-lined cookie sheet, flatten with your hand a bit, then poke the center with your fingertip. Repeat until you've filled two cookie sheets.
4. Bake at 375 degrees for 9 minutes, rotating the sheets top to bottom halfway through. Place the pans on racks to cool. Repeat to use up all of the dough.
5. Beat together the butter, confectioners' sugar and vanilla. Sandwich between two cooled cookies.

Rice Krispies s'more bars

Rice Krispies s'more bars

Would you believe that until this point, I'd never made Rice Krispies treats?

Sure, I'd made them with my mom once, ages ago, when I was little. But never since. And I have no idea why, especially after seeing exactly how quickly and easily these came together.

Of course, I couldn't just make the standard recipe, oh no. I wanted s'more bars, something that seemed appropriate for these waning days of summer. And after looking up about a billion recipes for s'more adaptations, I came to a realization: Not only are Rice Krispies treats easy, but you can throw all sorts of stuff at 'em. They're infinitely adaptable. Want to make some with your favorite candy? Sure, throw it in. Dried fruit? Why not? Fruity Pebbles instead? What the hell, go for it. It's really hard to screw these up.

Rice Krispies S'more Bars
Adapted from the original Kellogg's recipe

1/4 c butter
Pinch of salt
4 c mini-marshmallows
6 c Rice Krispies (honestly, I used store-brand ones, and I didn't taste any difference)
1 c Golden Grahams (you could try graham crackers, but I was worried that their texture wouldn't be good in these)
1/2 c chocolate chips

1. Mix the cereals and the chocolate chips together in a really big bowl.
2. Grease a 9-by-13 baking pan.
3. Melt the butter with the salt in a saucepan. Add the marshmallows and stir until melted.
4. Pour over the cereal mixture and stir, stir, stir, until all combined.
5. Dump into the baking pan. Press it down flat using a piece of waxed paper.
6. Let cool. Cut. Eat.

Date-nut bread

Date-nut bread

Sometimes, you bake something because you really have the itch to make a particular thing. And sometimes, you bake something because it will use up something you have in the house. This is one of the latter.

I've got to be just about the only person I know who'd buy fresh dates as an impulse purchase. But I'd never had fresh dates before, only the pre-packaged, chopped-and-dried-and-sugared king. And there they were at the grocery store, on sale and everything. And they're fruit, so they're healthy, so I should buy them... so I did.

And then they sat on the counter, snug in their package, for a couple of weeks. And I realized that other than "hey, let's get one out and try it and maybe eat a couple," I had no plan for these rather pricey little fruits.

But then, I remembered flipping past a date bread recipe in my copy of "Baking Illustrated." And I just happened to have some buttermilk going bad in the fridge, too. Perfect.

This recipe produced a moist, delicious loaf, studded with nuts and soft little morsels of date. Yum. Sure, it's not flashy or decadent like, say, cupcakes, or brownies, but it's tasty all the same (and would be even better with a nice cup of tea, I'd think).

Date-Nut Bread
From "Baking Illustrated"

2 c fresh whole dates
1 c boiling water
1 tsp baking soda
2 c flour
1/2 tsp salt
1 tsp baking powder
1 c chopped walnuts or pecans
2/3 c buttermilk
3/4 c dark brown sugar
6 tbsp butter, melted and cooled
1 egg

1. Pit the dates — sorta squish them and pull them apart with your fingers, then take out the pit (it looks kinda like a piece of walnut). Then, chop up the dates.
2. Place the dates in a bowl with the hot water and baking soda. Stir and let sit.
3. Whisk together the flour, salt and baking powder in another bowl. Stir in the nuts.
4. Stir the buttermilk and sugar together in a large bowl. Add the butter and egg and stir. Stir in the date mixture, then the dry ingredients, just until combined.
5. Scrape into a greased and floured 9-by-5 loaf pan.
6. Bake at 350 degrees until the loaf is dark brown and a toothpick inserted in the center comes out clean, 55 to 60 minutes. Cool in the pan 10 minutes, then depan onto a rack and cool.

Monday, August 1, 2011

Blueberry crumb bars

Blueberry crumb bars

It's blueberry season!

Blueberry season is exciting, 'cause blueberries are delicious in so many things, and 'cause my boyfriend and I found a blueberry farm not too far away where we can go picking. This year, we spent hours out in their fields, sampling the different varieties and picking buckets of berries. It's times like that when I sort of marvel at nature, at the fact that while money doesn't grow on trees, food totally can -- we stood there in the field, reaching into the bushes and coming away with fistfuls of food, and I felt very lucky to have a place like that nearby, especially since it was a perfect day for picking, with the bushes not picked over at all.

It probably helped that we decided to go way over on the other side of the fields, away from the crowds and toward the variety of berries we like best, the Little Giants. Picking those felt like an insider secret, and now, I'm sharing that secret with you -- they might be little, but they sure do pack a giant flavor, so sweet and delicious, so if your local berry farm has Little Giants, get those, definitely.

But I found a new favorite this year, too. I didn't want to pick just Little Giants, 'cause after all, I was intending to make jam (perhaps I'll blog about that later, once I've had a chance to open a jar and see how it came out), so I figured some bigger berries would probably be well suited for that. I came across a section of Sierra blueberries, and I have to say, if you're looking for bigger berries, those are pretty darned good, too, nice and sweet and plump.

For this recipe, I ended up using a mix of both varieties, 'cause I wanted to use the bigger ones for a soft, baked berry layer, but there were some little berries in the fridge that I needed to use up. As for how the bars tasted, I wouldn't actually know -- I took them to work, and a whole pan of them vanished before I got a taste! The rave reviews of my coworkers, and the fact that they actually ate that many, would seem to indicate that this recipe's a real crowd-pleaser, and I'll certainly make this again sometime (and save one out for myself this time!).

Blueberry Crumb Bars
From Smitten Kitchen

1 c sugar
1 tsp baking powder
3 c flour
1 c cold butter
1 egg
1/4 tsp salt
Zest and juice of a lemon (or just juice, if you only have a pre-zested lemon like I did... or 2 1/2 tbsp of the bottled stuff)
4 c blueberries
1/2 c sugar
4 tsp cornstarch

1. Whisk together the sugar, baking powder, flour, salt and lemon zest (if using) in a good-sized bowl.
2. Cut in the butter and egg with a pastry blender (or forks or your fingers, if you don't have one) until uniformly crumbly.
3. Press half of the crumb mixture into the bottom of a greased 9-by-13 pan.
4. In another bowl, mix together the sugar, cornstarch and lemon juice. Gently stir in the blueberries. Pour into the pan and spread out evenly.
5. Crumble the remaining dough over the berries.
6. Bake at 375 degrees for about 45 minutes, until the top is slightly brown. Cool completely in pan before cutting.